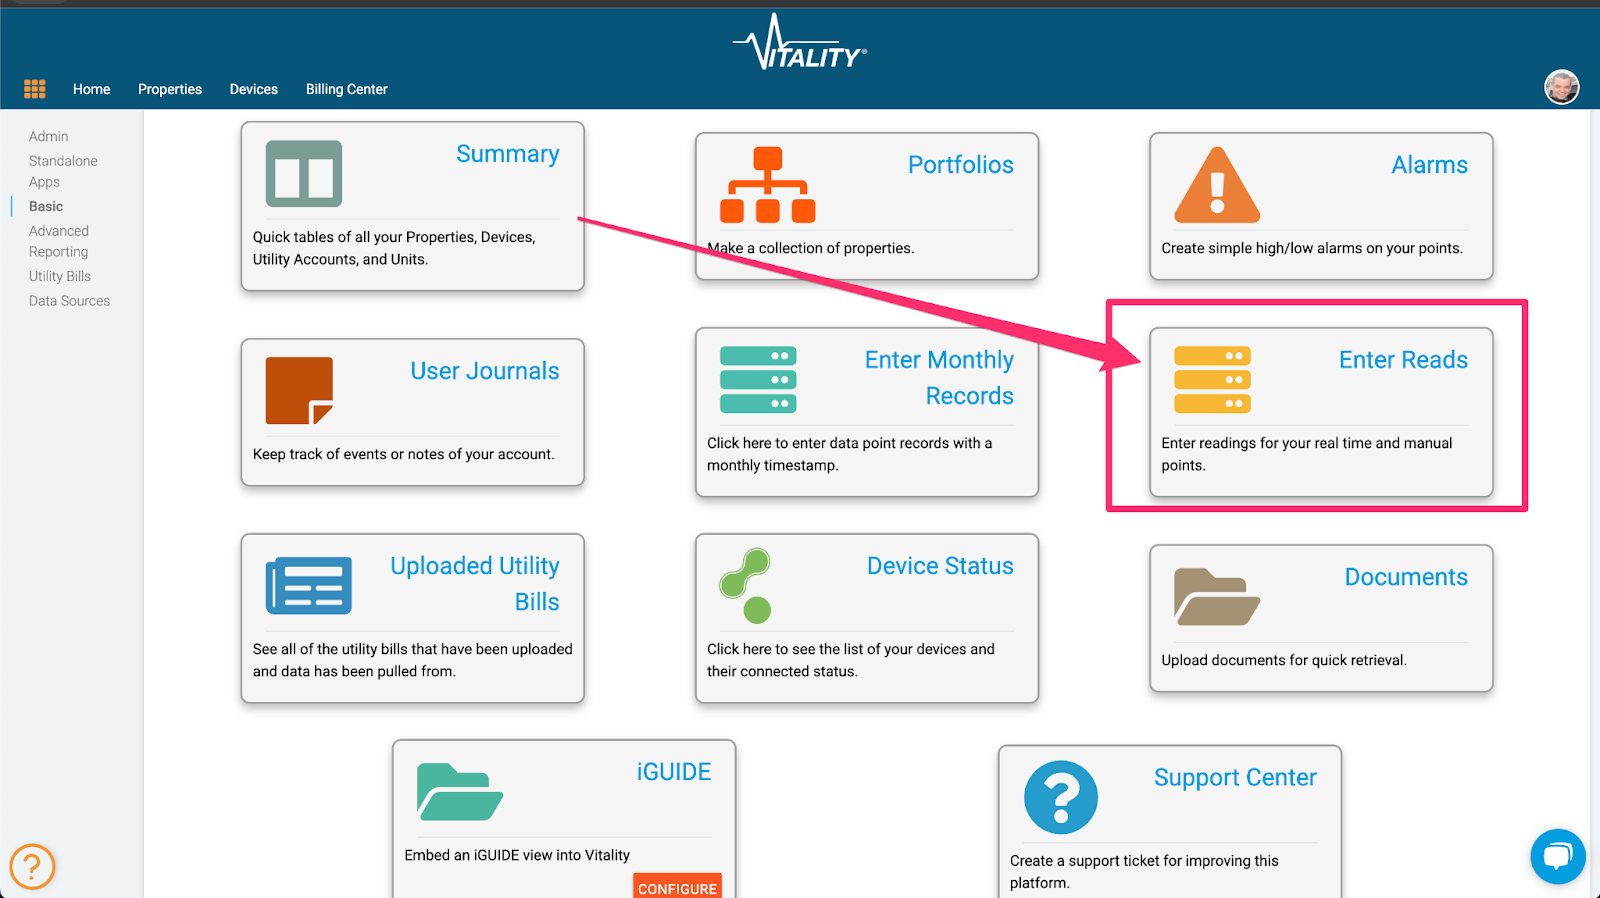
From the apps page, click on the “Enter Reads” app.
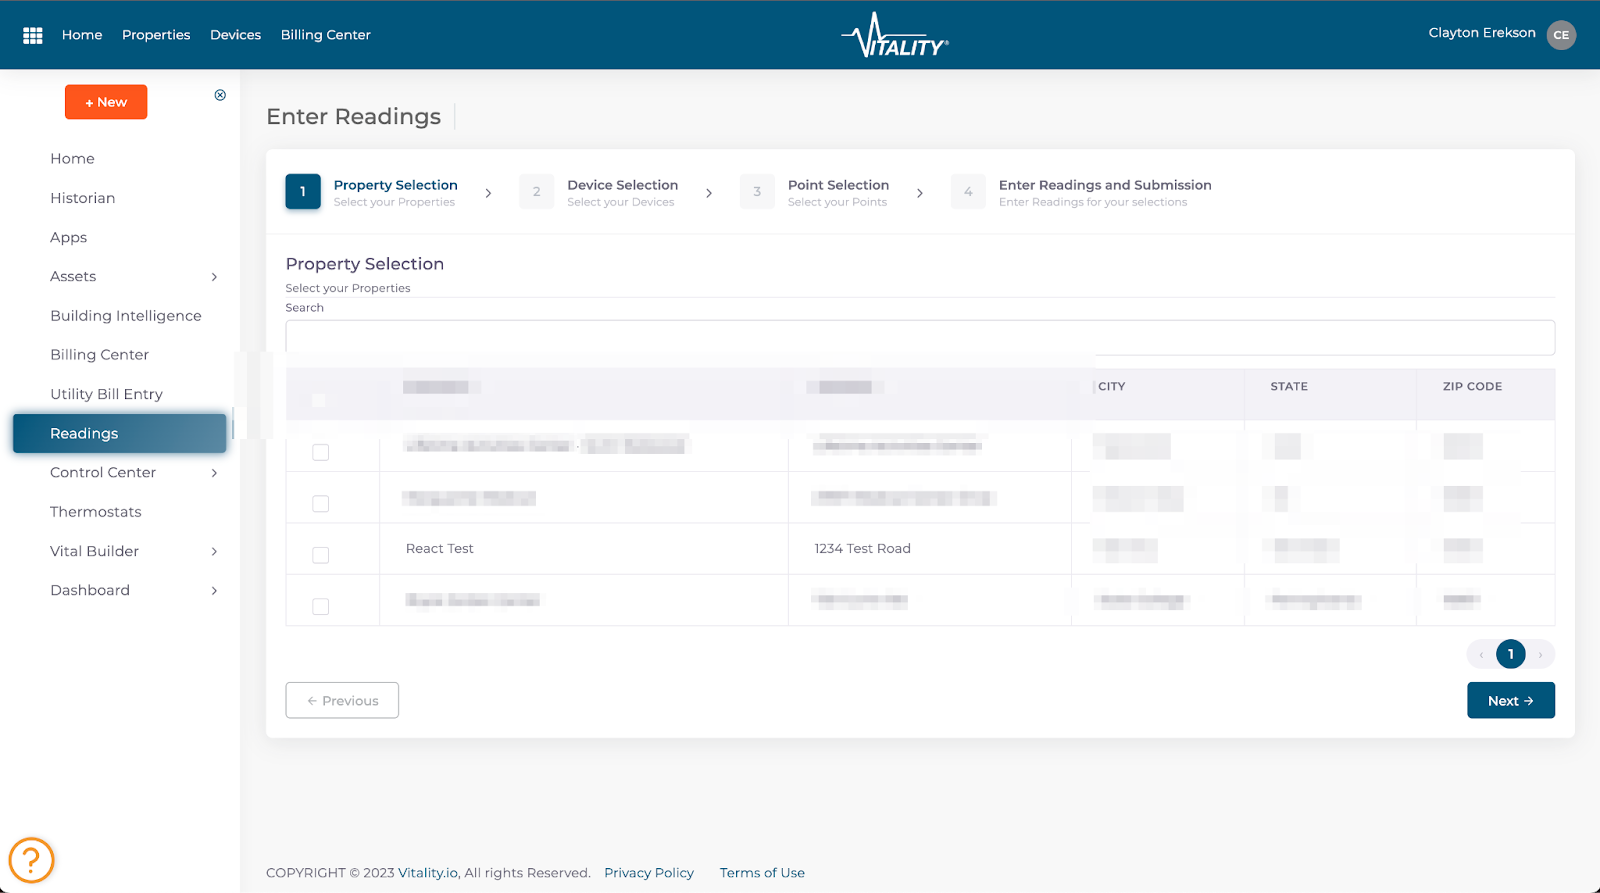
Select the property or properties where the devices are located for which you want to enter reads.
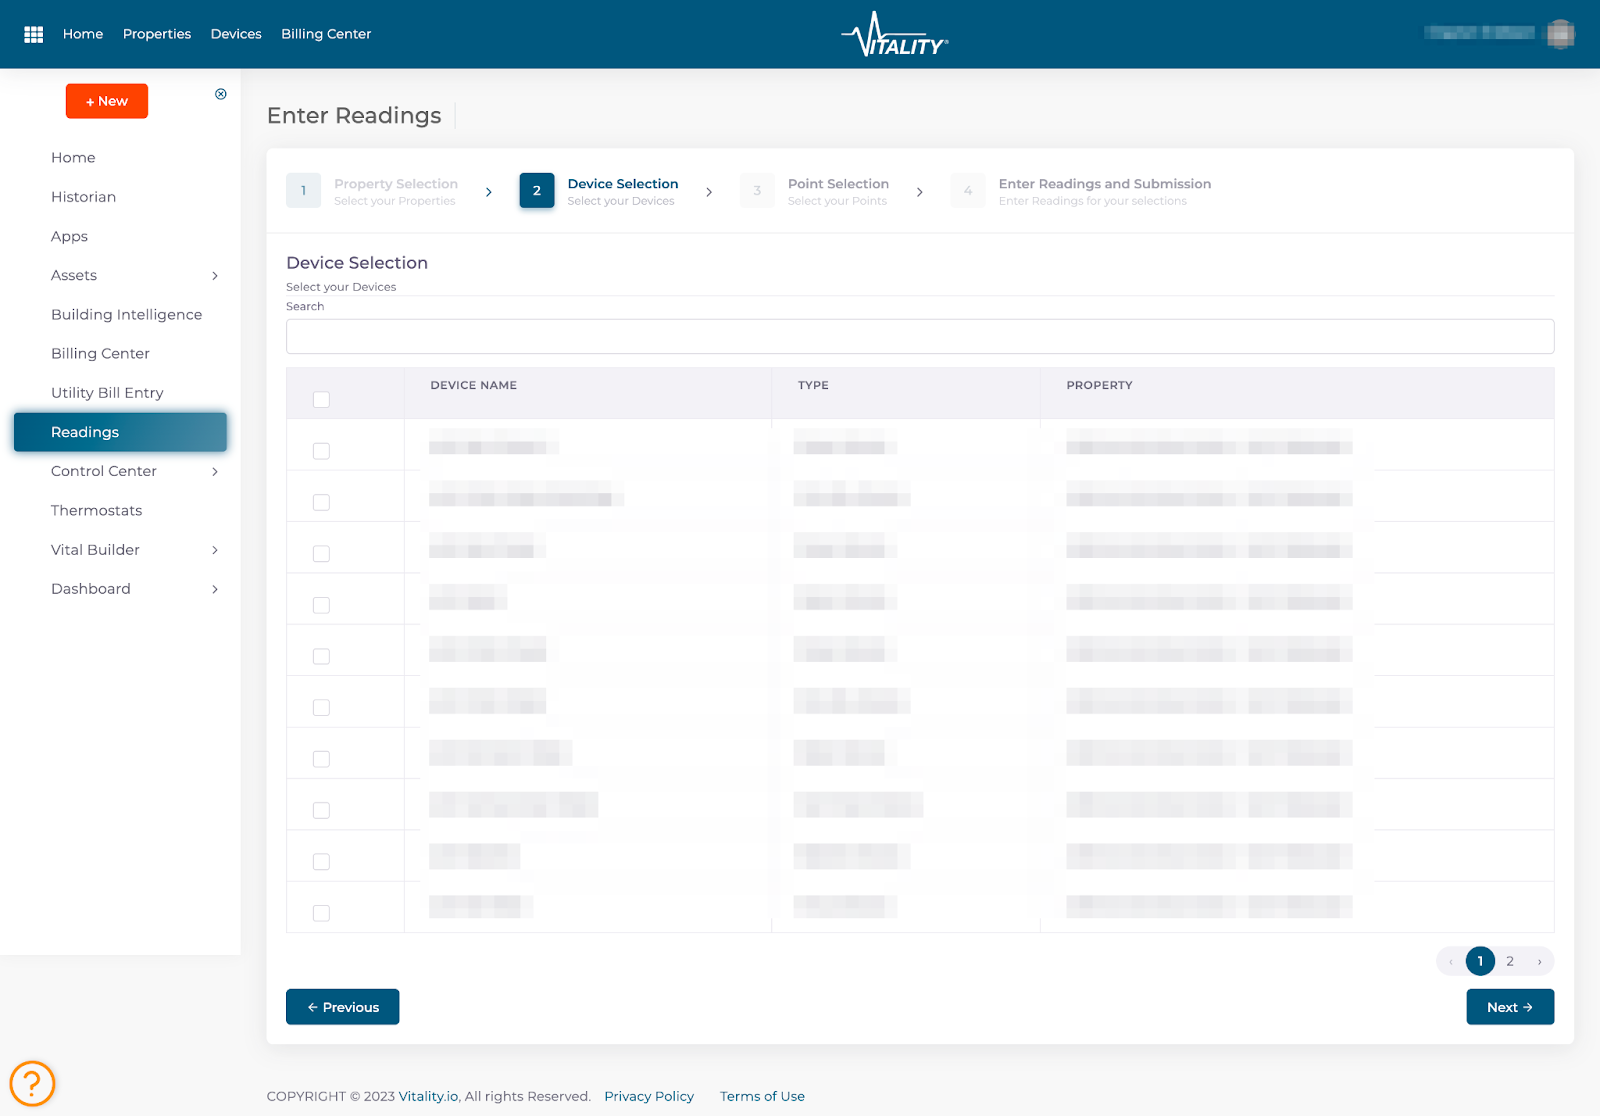
Select the applicable device(s)
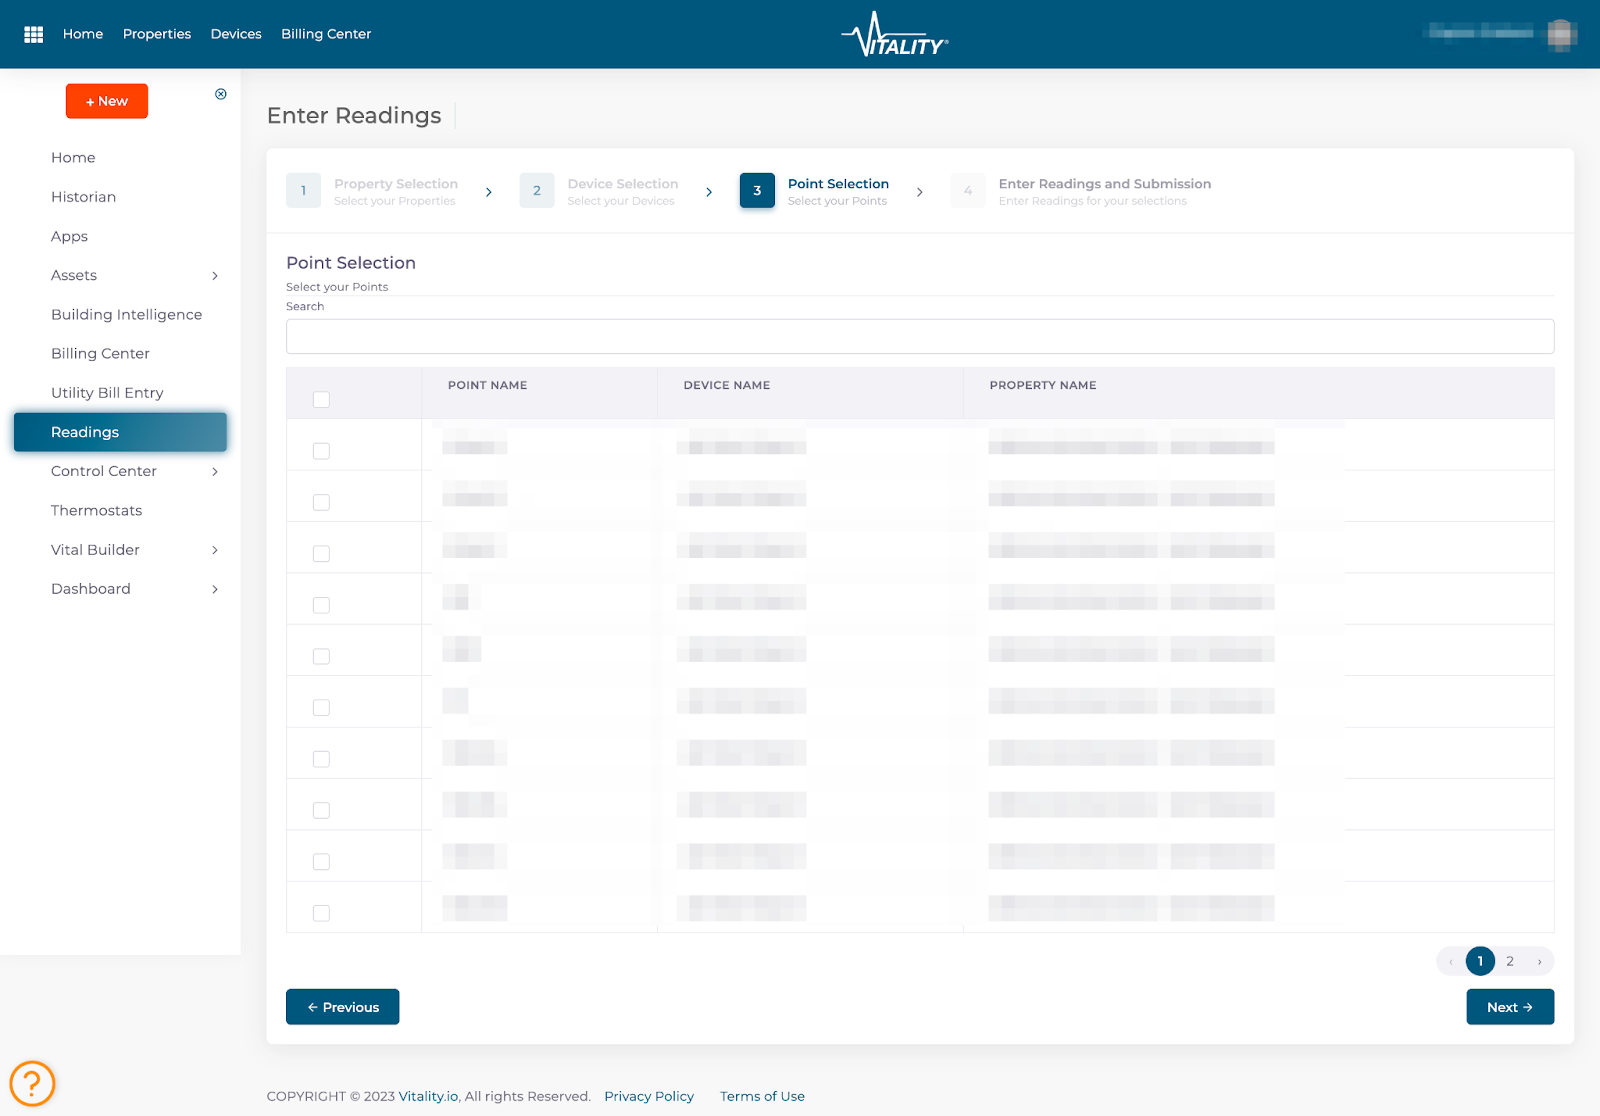
Select the point(s)
Select your date range.
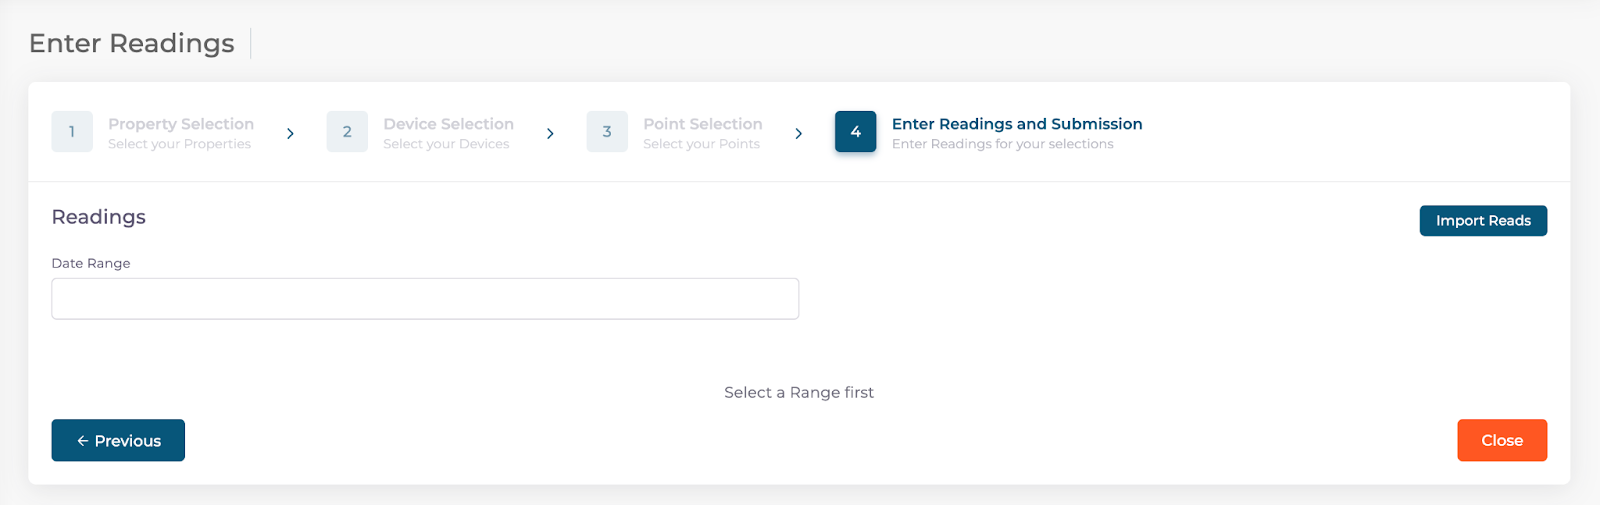
The table at the top will show all readings within the platform. At the bottom of the page, you can enter new reads with the date and time of the reading. As an option, you can select “estimate” and enter an estimate read that will be flagged throughout the system.
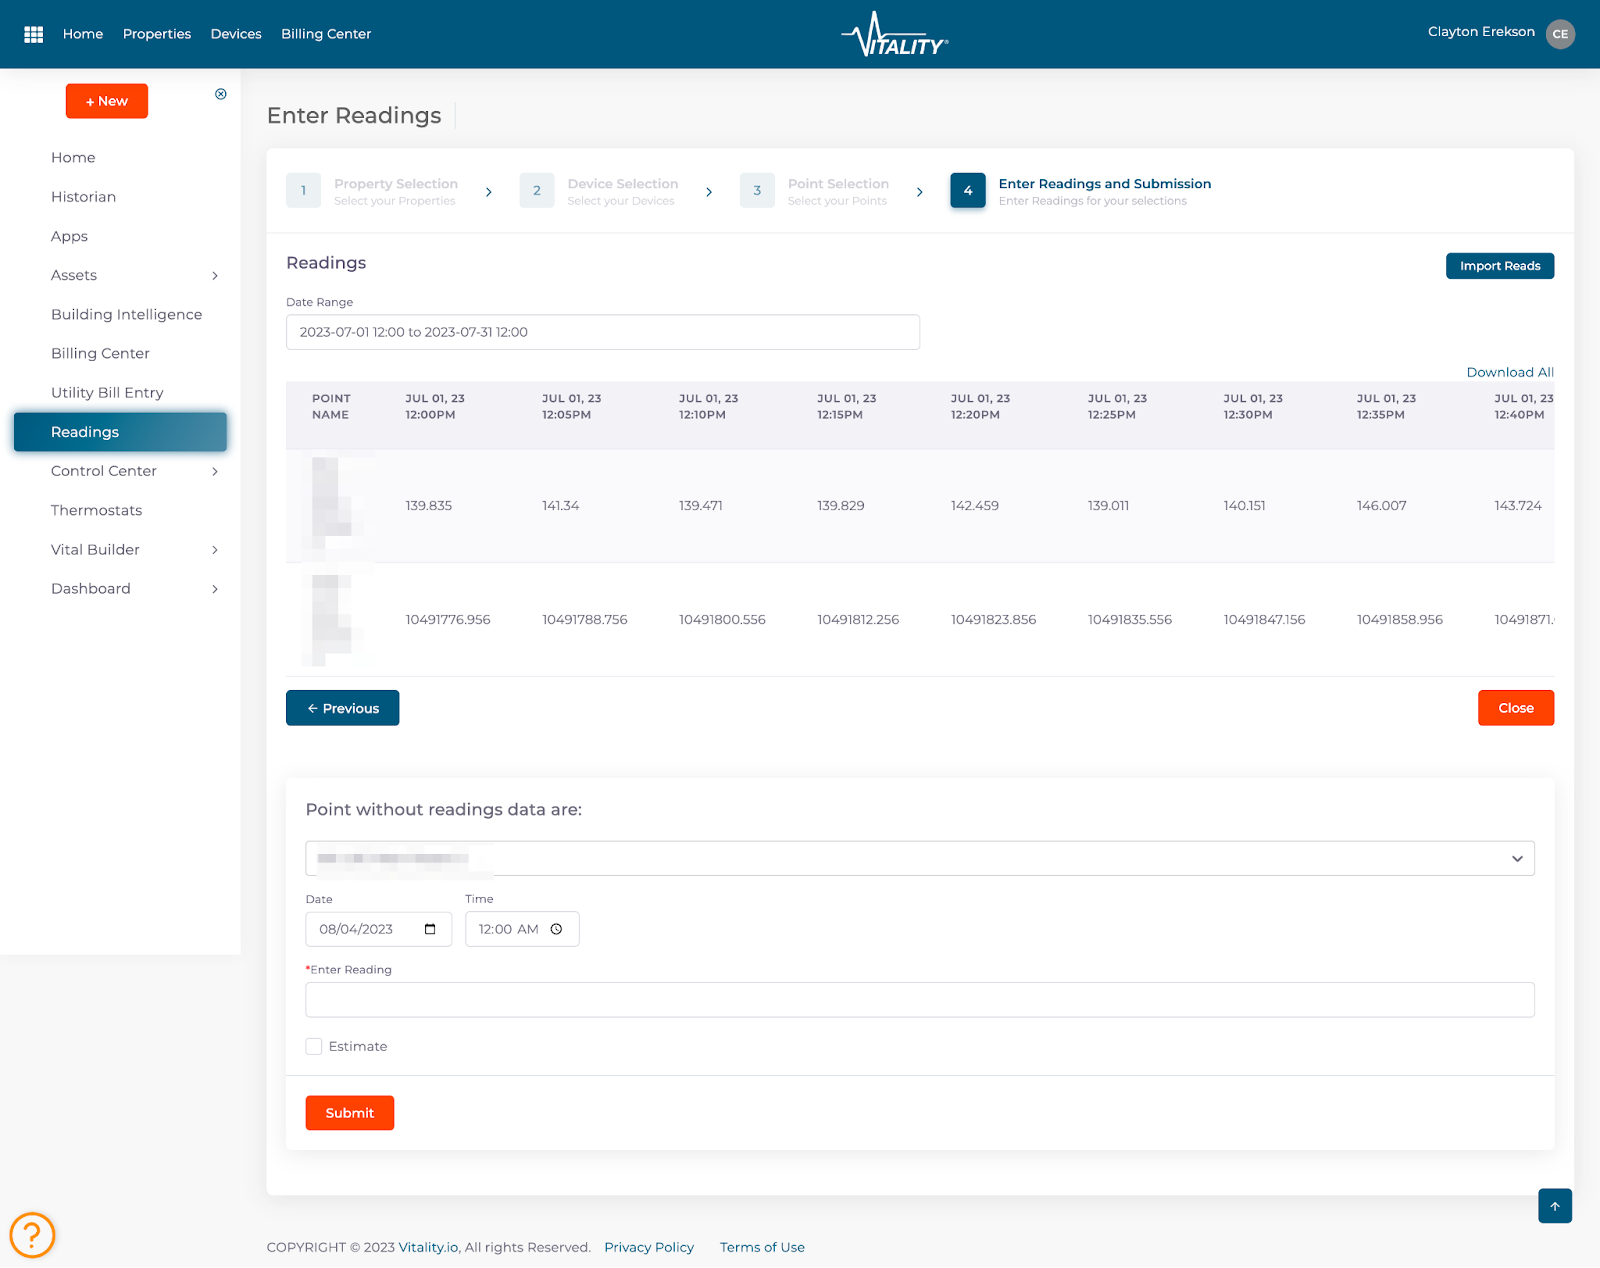
Once completed, click “Submit.”
IMPORT READS:
On the top of the last screen, you can import Reads. Click on this will allow you to upload a file to import. Please download the CSV example to ensure the data is correctly formatted.
NOTE: If the data is not correctly formatted and matches the database completely, VITALITY will think these are new points and will create entirely new points and readings within the system.
Formatting the CSV:
The CSV needs to be formatted as the following:

The Mac Address is the gateway, utility bill account, DAS, or meter identifier created during the initial setup of the devices. If you do not know the MAC Address, you can find it by doing the following:
Go to Apps > Connected Gateways

If you do not know which Gateway your device is connected to, go to Devices and search for the device, you should see the Gateway name under “Data Source”.
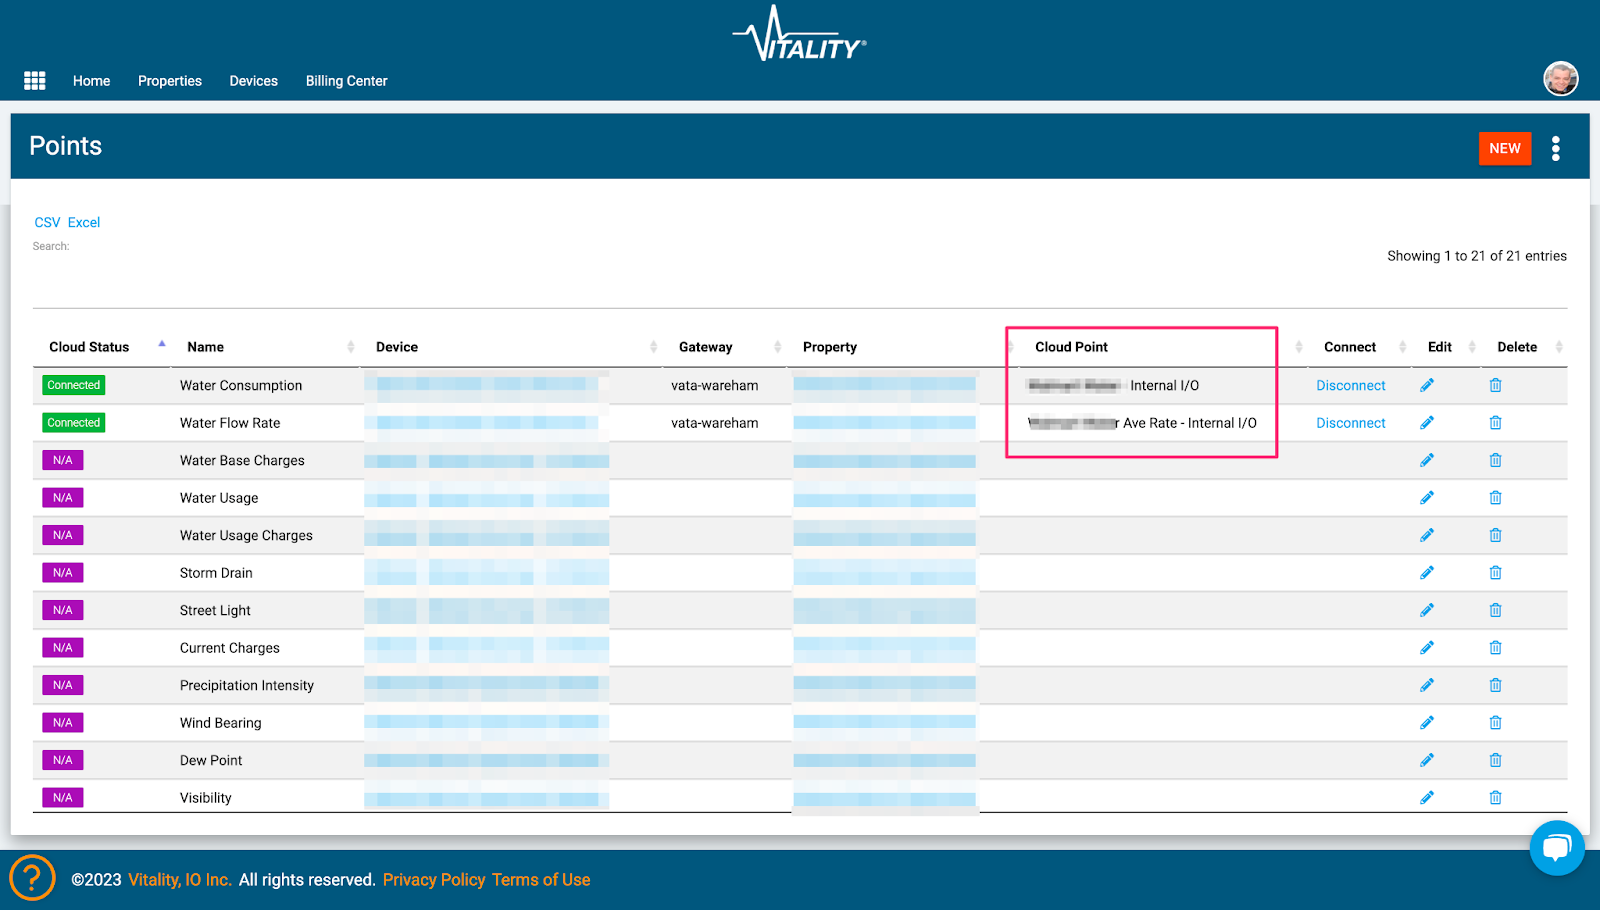
To find the point name, go to the user icon in the top right corner and click on points. The point name is equal to “Cloud Point.”
Note: The unit of measure must match the cloud point.