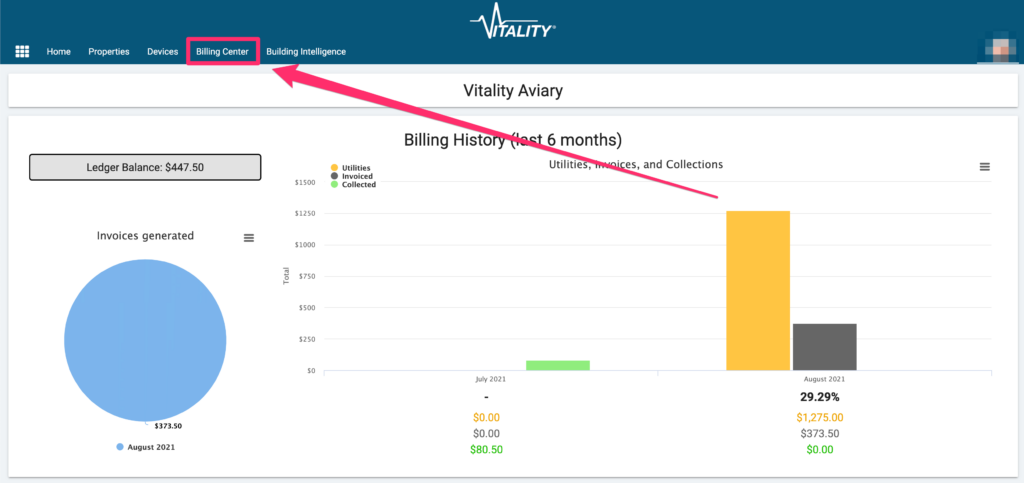
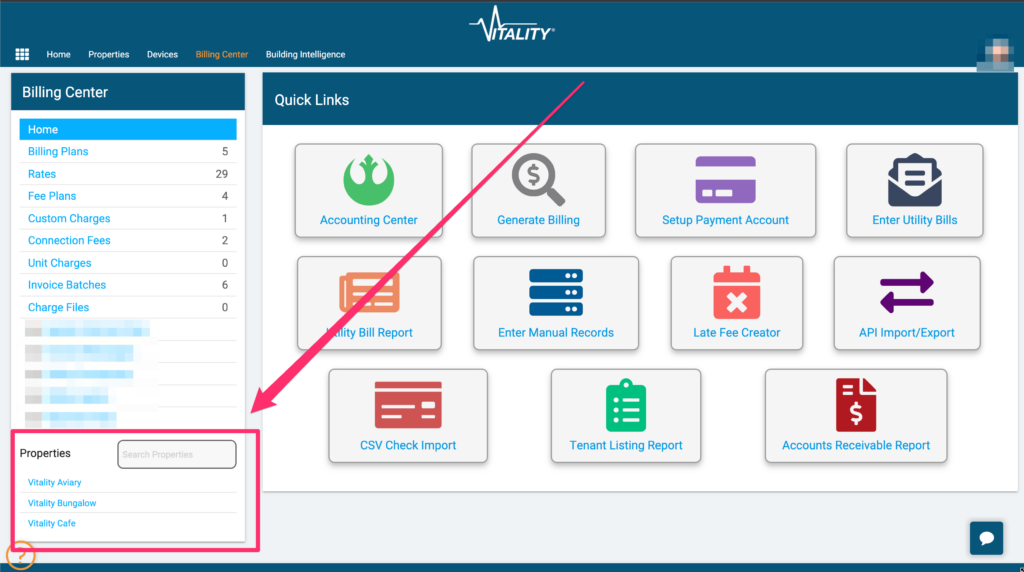
Step 1: Open the Billing Center
Step 2: Find the Property of the Tenant
Step 3: Find the Tenant Account and Click on the single bill icon

Step 4: Pick the Date Range for the Billing
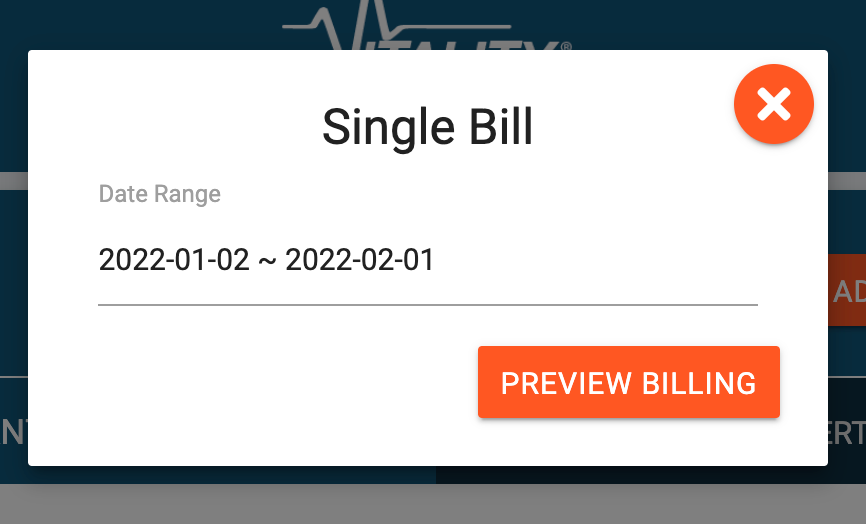
Step 5: Click on “Preview Billing”

Step 6: Check the Approve Box

Step 7: Click “Post Invoices”

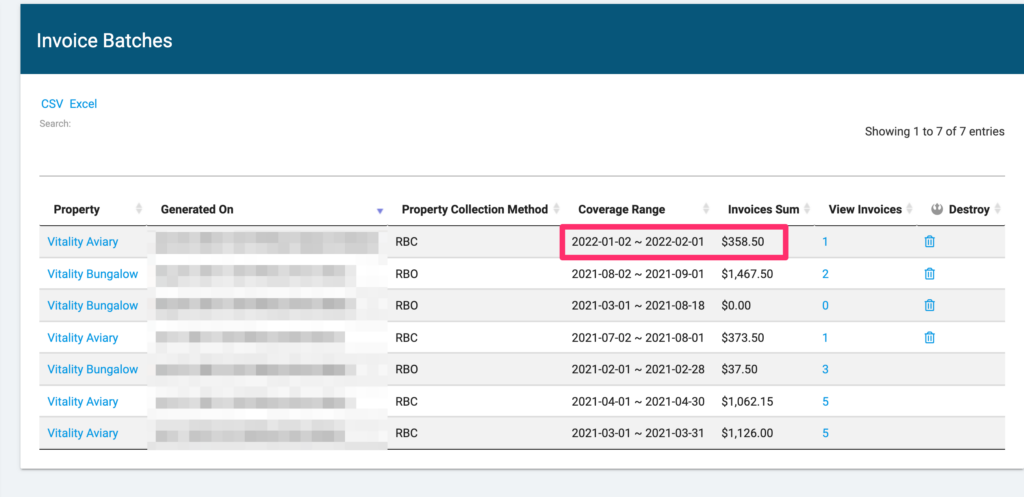
Step 8: View Invoice in Invoice Batches